Interior walls help define the atmosphere, aesthetics, and longevity of a space. Calm is ensured by smooth finishes, while rough, unfinished surfaces distract the eyes. Walls look great and will last for many years when they are prepared well and applied properly. Here are practical interior plastering tips that will promote a long-lasting, clean result. This guidance is applicable to renovation work, new builds, and maintenance. Following clear steps, utilizing wise materials, and using considered workmanship ensures we achieve finishes that stay stable and beautiful.
Why Surface Preparation Matters
Great wall finishes start long before any plaster ever touches the surface. Proper preparation will ensure that the adhesion can be made and defects in later phases can be avoided. Dust, grease, or loose paint can reduce the bond strength. Your roof is likely to take a lot of wear and tear, and if you ignore old cracks, they may widen. Proper groundwork protects effort and material.
Key preparation steps include:
- Wiping away dirt, residue, or moist traces from walls
- Fixing gaps, chips, and small fractures
- Use appropriate primers to keep the suction balance
- Coating in a situation that allows surfaces to become dry green
- Careful prep leads to a uniform wall, which helps stave off repairs just down the road.
Choosing the Right Plaster Type
The type of plaster you need depends on the specific rooms. Texture, durability, and maintenance are influenced by the material. Another type of material is Gypsum, which is utilized in places where drying speed and finishing are aspects that need to be worried about. Blends that are cement-based work for wet environments such as those in kitchens or the bathroom area. Lime-based alternatives breathe through walls, preventing the buildup of trapped moisture.
Selection depends on:
- Room humidity levels
- Desired surface texture
- Drying time expectations
- Compatibility with existing surfaces
Since humidity has an effect on how plaster cures, projects associated with interior plastering in Auckland often consider climate conditions.
Mixing and Consistency Control
Proper mixing supports uniform application. Thick plaster drags and cracks. After drying, thin blends either sag or shrink down to size. It should be the consistency of soft cream (i.e., easily spreadable, but not drippy).
Helpful mixing practices include:
- Pouring powders gradually into clean water
- Slowly mixing to prevent the formation of air wells
- Allowing the mix to rest for a short time before using
- Preparing only workable quantities
- Utility, balanced consistency makes less waste and better surface uniformity.
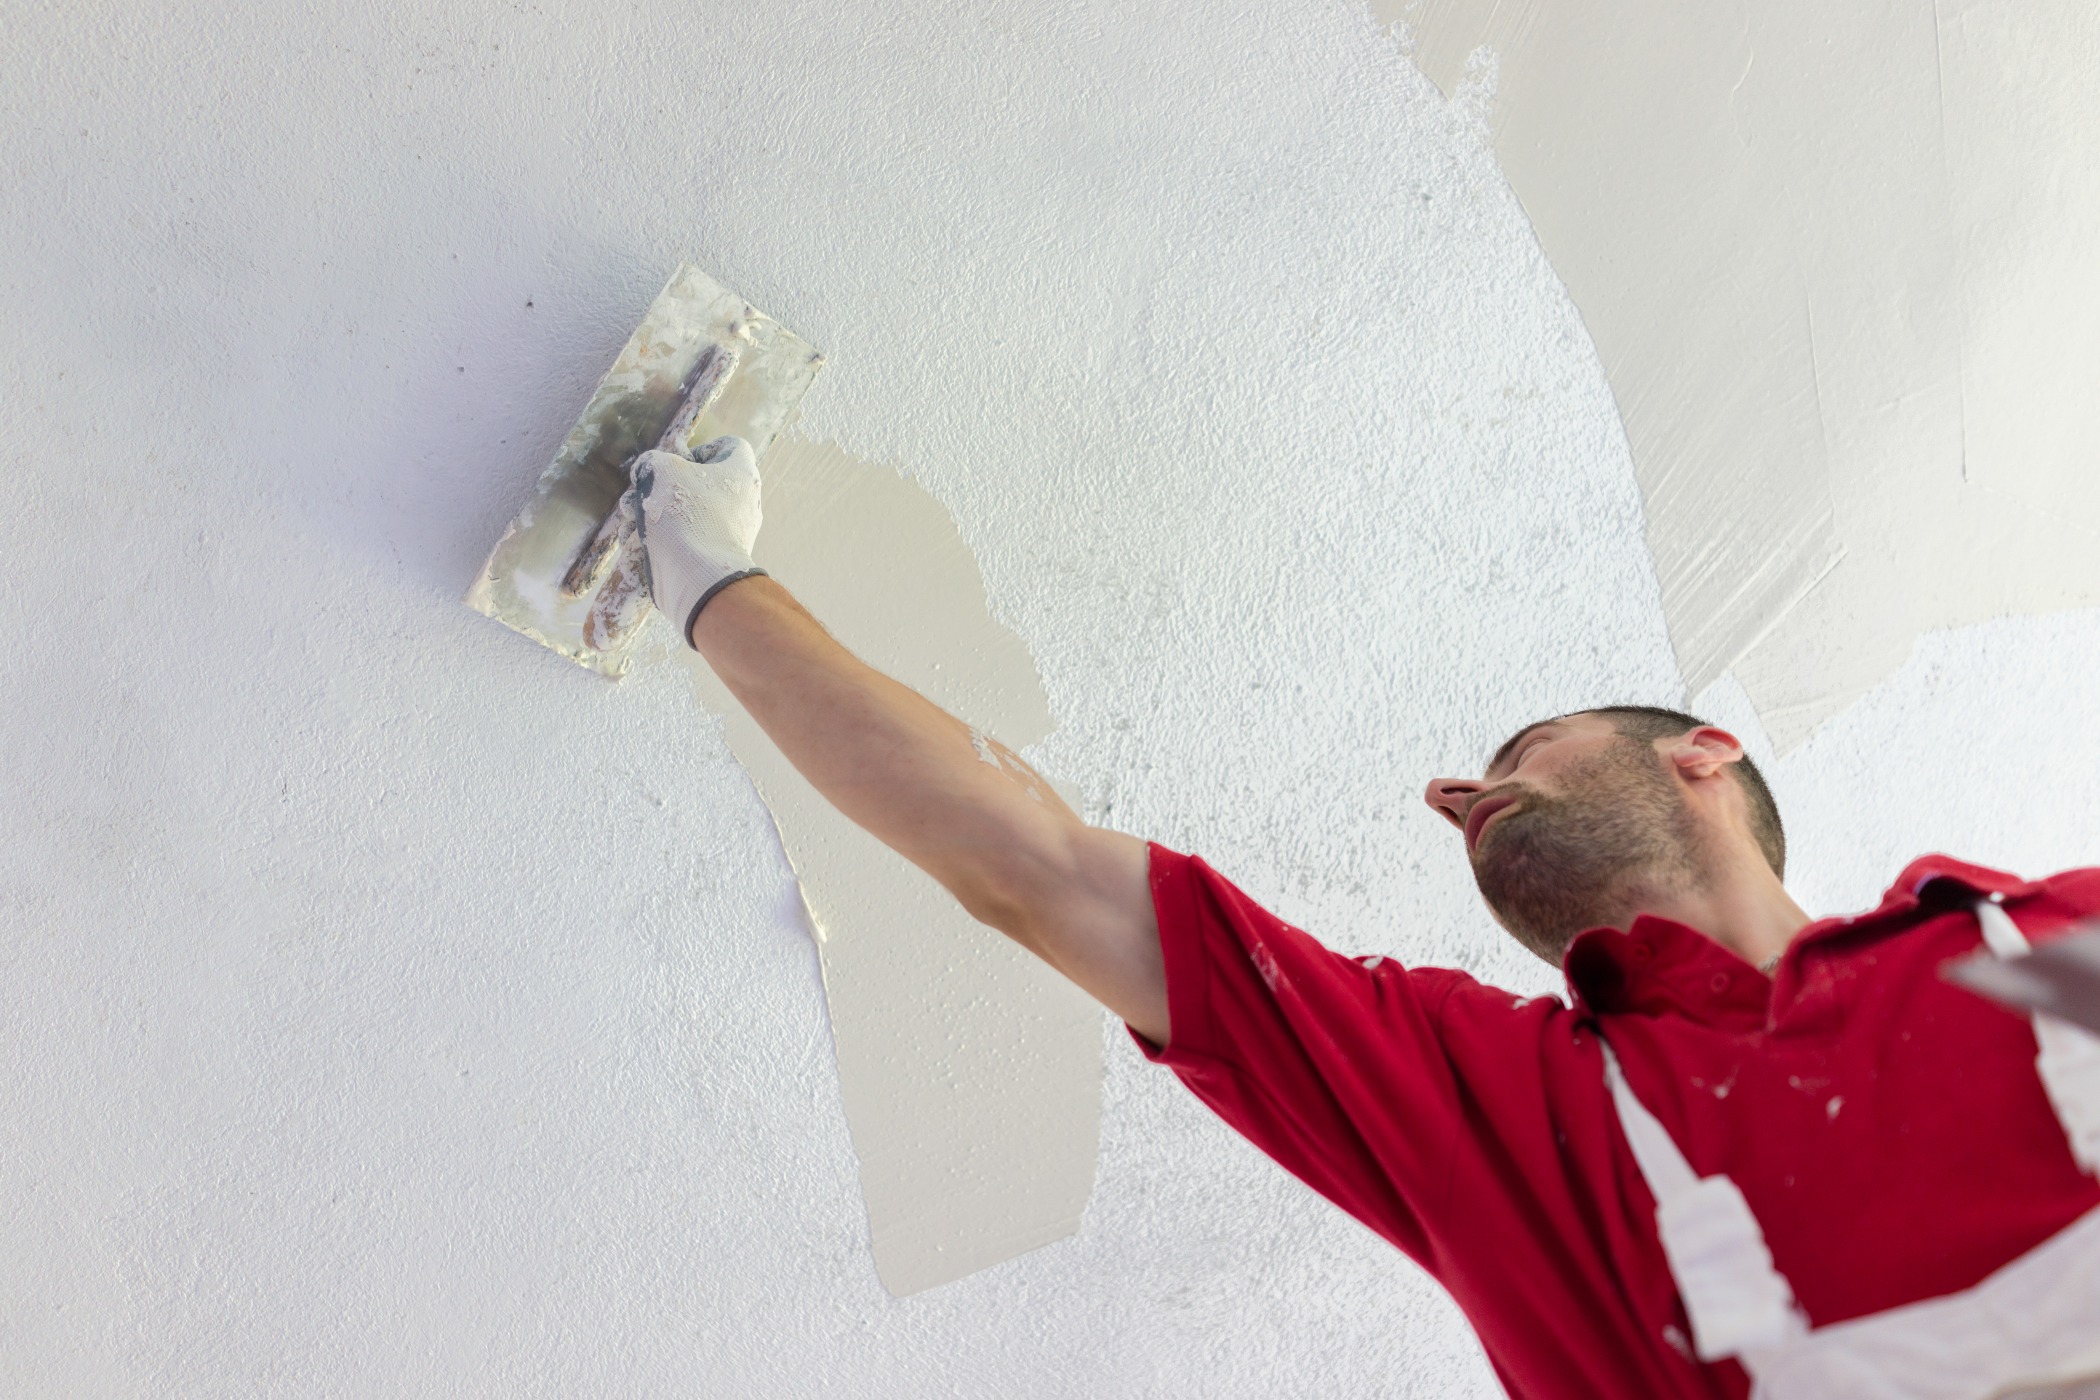
Application Techniques for Even Coverage
Applied with some skill, they keep the walls smooth for a longer period of time. You did need to ensure even pressure and that the strokes were steady for each coat. Inconsistent pressure creates ridges, which you have to sand off later. Thinner coats dry better than heavy coats.
Effective application practices involve:
- Using tools cleaned for each layer of paint
- Applying plaster in consistent directions
- It helps if you keep the edges wet in order to prevent lines.
- Allowing proper drying between layers
To keep things uniform, tradespeople associated with interior plastering assistance in Auckland frequently go by staged covering solutions.
Drying Time and Environmental Control
Drying conditions influence final strength. Rapid drying leads to cracks. The long and slow processes of curing enable both hardness and stability. It allows humidity to escape without putting the surface under stress.
Environmental factors to manage include:
- Keeping fresh plaster away from direct heat sources
- Maintaining steady airflow
- Preventing sudden temperature shifts
- Allowing natural curing time
Let Dry To Preserve The Finish & To Reduce The Need For Repairs
Sanding and Finishing Touches
Sanding makes the surface smoother and gets rid of small gaps. Over-sanding weakens the top layer. Fine-grit paper produces gentle passes. Aftercleaning the dust off prepares walls for paint or decorative coatings.
Finishing tips include:
- Checking walls under natural light
- Filling minute defects before final sanding
- Cleaning dust thoroughly
- Using compatible paints or sealers
- It enhances looks and makes long-lasting paint adherence possible.
Common Mistakes That Reduce Durability
Fatal mistakes are basically simple errors that automatically reduce the life span of a wall. Preparation is often ignored, drying stages get rushed, and improper materials are used, resulting in visible problems. Awareness prevents costly corrections.
Frequent mistakes include:
- Applying plaster over damp surfaces
- Ignoring movement cracks
- Using worn tools
- Mixing inconsistent batches
- Interior plastering services in Auckland are usually, but not always, focused on prevention.
Maintenance for Long-Term Results
Finished walls still require care. Early signs of wear can be detected by regular checks. Tasks like minor repairs addressed early avoid wider damage. Gentle cleaning protects surface integrity.
Maintenance habits include:
- Avoiding harsh cleaning agents
- Repairing cracks promptly
- Managing indoor moisture levels
- Repainting with compatible coatings
- Regular care prolongs surface and visual quality.
Conclusion
When it comes to how walls function and look throughout the years, interior plastering is an important factor. These finishes stick around for a while due to a combination of preparation, choice of material, proper application, and slow drying. Paying close attention to each stage reduces defects and the need for maintenance. Projects involving interior plastering in Auckland are well done, thanks to climate-conscious preparation and smart fruit. When methods are applied mindfully, and persistence keeps pace, the interior surfaces can stay as even, sound, and attractive for many seasons.